How to Make AI Music Sound Better with Custom Drums
You've got an AI-generated song you want to finish. The vocal works, the melody sticks, but the drums let it down: a thin snare, harsh cymbals, or a fill that barges in halfway through a line.
Kits can change mid-song, drums losing definition towards the ending, and tempo is wobbly. "My drums sound too AI" can mean either of those things. It can also mean the beat is simply too busy for the vocal.
You can replace that part while keeping the rest of the song. Whether you're making pop, electronic music, hip-hop or an indie demo, the useful bit is control: choose the sounds, place the hits, and change the rhythm without starting over.
1. Fix tempo and make room for the new drums
First, go to the Enhance tab, make sure the preset Remove speed variation (make bpm constant), and run the model. Then, go to the Stems tab, select the preset called Remove drums and select the latest restored version in the Source audio. Click run to separate the instruments from the drums. Finally, download the version without drums.
You can look at the detected BPM in the top of the page to set the tempo when importing the audio into your DAW. Align the instruments to the grid. The drums-only stem can help you with that.
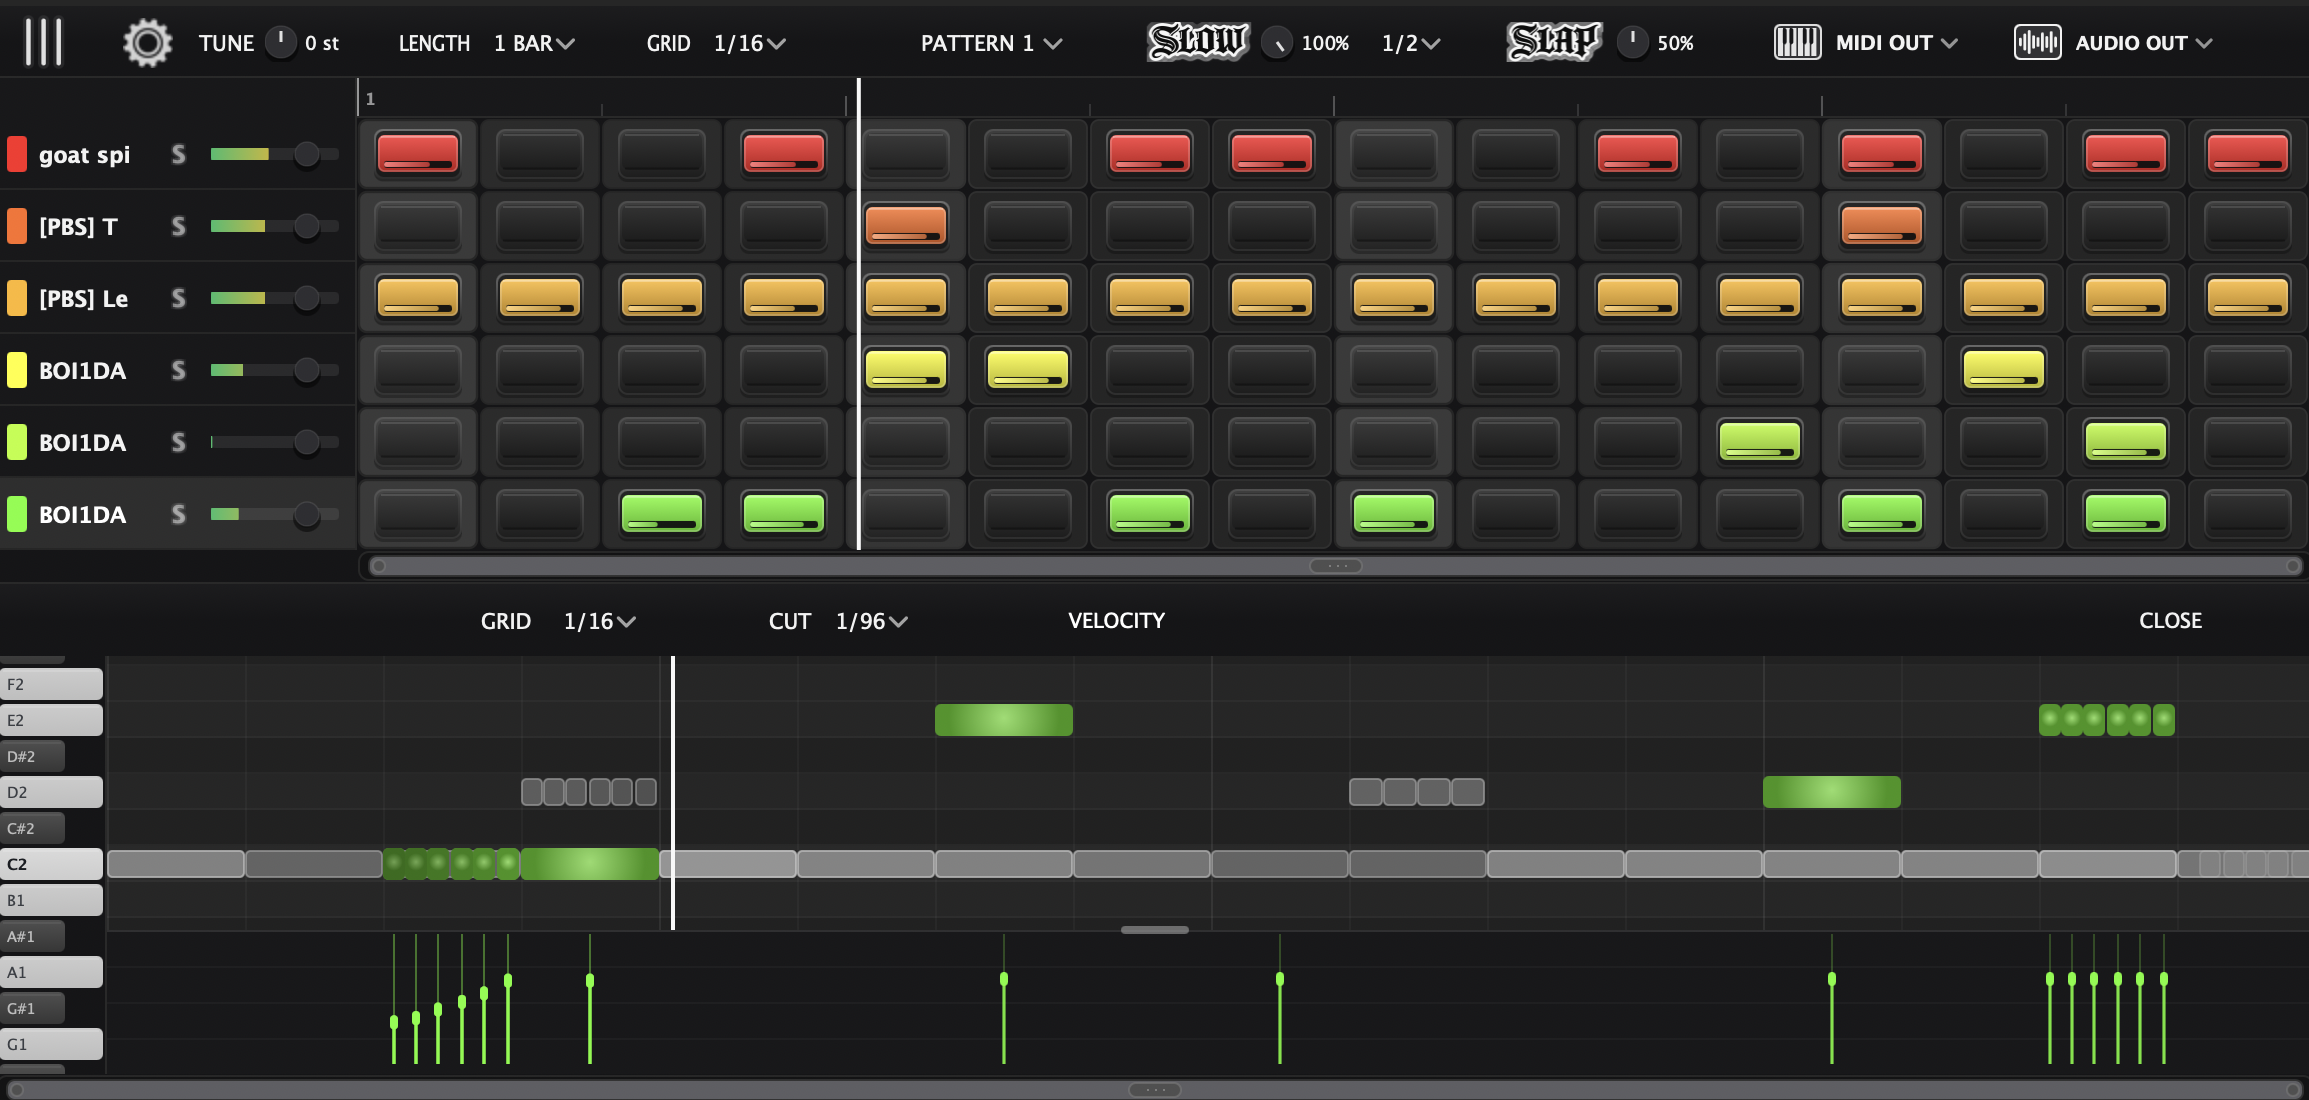
There are many ways to replace drums, but today let's load TrapMan, Voleor's drum sequencer, on an instrument track. It runs in your DAW (Ableton, Logic, etc.) and lets you program drum sequences.
2. Choose a kit that belongs in the song
Start with a kick, a snare or clap, and a closed hat. Load each sample into a TrapMan lane. Try dry acoustic hits for an indie track, short electronic sounds for dance music, or a softer kit under a quiet vocal. Listen against the backing before programming a complicated part.
Need sounds or a groove to start from? Browse Voleor's drum kits and patterns library by genre and tempo, then download a kit or pattern to use in TrapMan. Pick something close to your song, swap the sounds you want to change, and edit the rhythm around the vocal.
For a song in 4/4, this simple backbeat gives you somewhere to start. Use the song's tempo and a 1/16 grid. The snare lands on beats 2 and 4; dots are rests.
Beat    1 e & a 2 e & a 3 e & a 4 e & a
Kick    x . . . . . . . x . . . . . . .
Snare   . . . . x . . . . . . . x . . .
Hat     x . x . x . x . x . x . x . x .
Loop it, then adjust for the song:
- Pop or indie: keep the backbeat and move a kick to follow the bass phrase.
- House or dance-pop: try a kick on every beat and an open hat between kicks.
- Hip-hop or R&B: leave more space around the vocal and add a quiet snare pickup or a short hat flourish.
These are starting points. If the original rhythm already works, use it as a reference and change the sounds first.
3. Make the groove fit the vocal
Repeat the pattern for four bars and listen to the singer. Does a kick crowd a syllable? Does the snare leave enough room for the phrase? One deleted hit can do more than another fill.
In the piano roll's velocity lane, lower some hats between the accents. Try a short fill at the end of a phrase, then leave the next downbeat clear. For a tight electronic track, keep the main hits on the grid. For a looser feel, experiment with small timing changes on the hats while the kick and snare hold the pulse.
Check the kick against the existing bassline too. A shorter kick may fit better than a bigger one if the bass already carries the low end.
The same samples and pattern will play each time. You can swap a snare, soften a fill or remove a cymbal without regenerating the vocal.
4. Give the sections a little contrast
Use separate TrapMan patterns for the verse and chorus. Keep the same kit; thin out the verse, open up the hats in the chorus, and save a fill for the transition. Pattern chaining lets you arrange those patterns with repeats.
Export the finished drums as audio or separate stems for mixing. Compare the new version against the original at similar loudness, especially near the ending. Listen for doubled snares, bass clashes and cymbal residue when your drums drop out.
You should hear a repeatable groove that supports the vocal, with changes you chose. If the backing still has audible artifacts, deal with those separately before the final master.
Want a starting kit and a grid for this workflow? Try TrapMan.